http://www.paper-source.com/cgi-bin/paper/item/White-Swirls-Red-Vellum-Gift-Wrap/3104.080/10162850.html
The design is so easy to make! I promise! All you really need is a dotter, and if you don't have that, you can use a toothpick (cut a little) or the tip of a pencil.
Step 1) Apply base coat (I used: Seche Vite Base Coat)

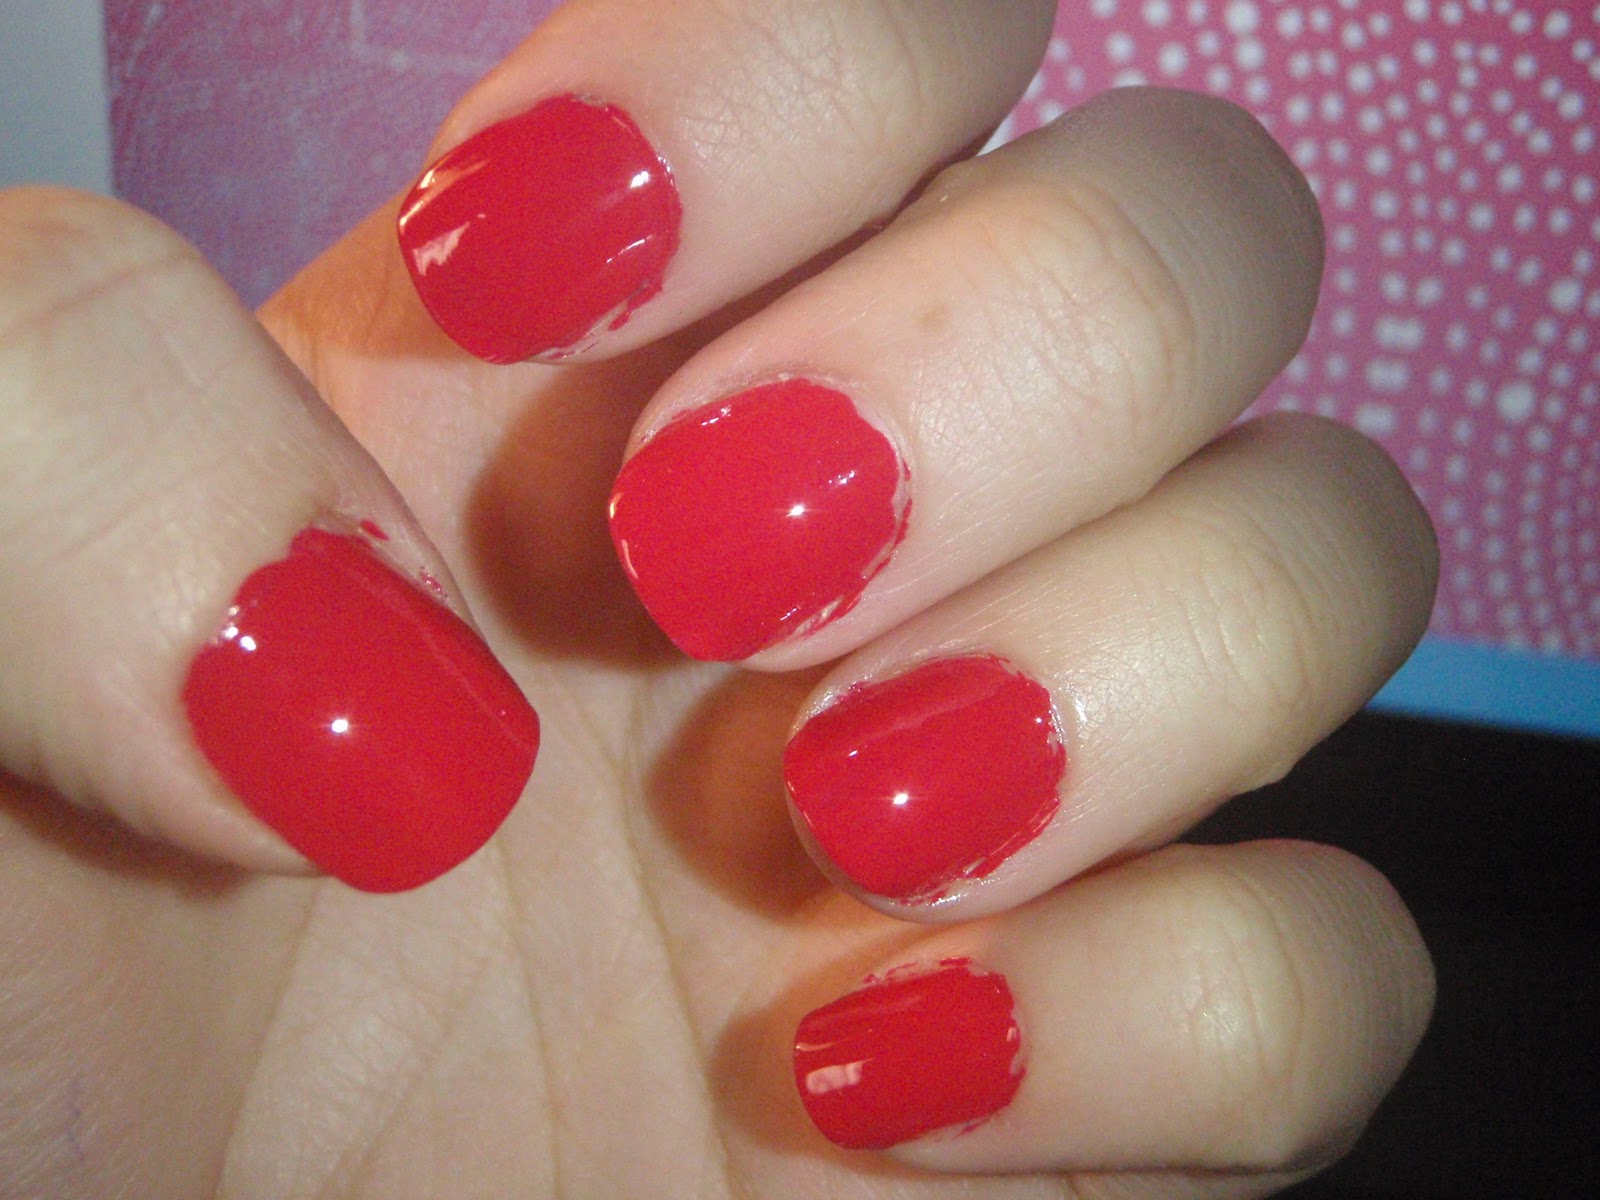
Step 2) Paint your nails red (I used a red by OPI - sorry I don't remember the name). Also, Don't worry about it getting onto your nail because that will wash off easily after they dry.
Step 3) Blot some white (I used Orly Pointe Blanche) onto a piece of scrap paper and blot with a blotter (or any other tool listed above).

Step 4) Dot a white circle in the lower left corner of your nail to a little bit past the center.

Step 5) Create a square of four dots at the end of the previous circle and start a new one on the upper left corner of your nail with those two dots as the base.

Step 6) Fill in reach circle with more dots arranged as smaller, inner circles.

Step 7) Finish filling in the circles all the way.

Step 8) Add two dots in the middle of the empty space on the upper left and lower right of the nail.

Step 9) Continue doing this with the rest of your nails.

Step 10) You're finished!

I hope you enjoyed this tutorial! It's a lot easier to do than it looks when finished :)


No comments:
Post a Comment